
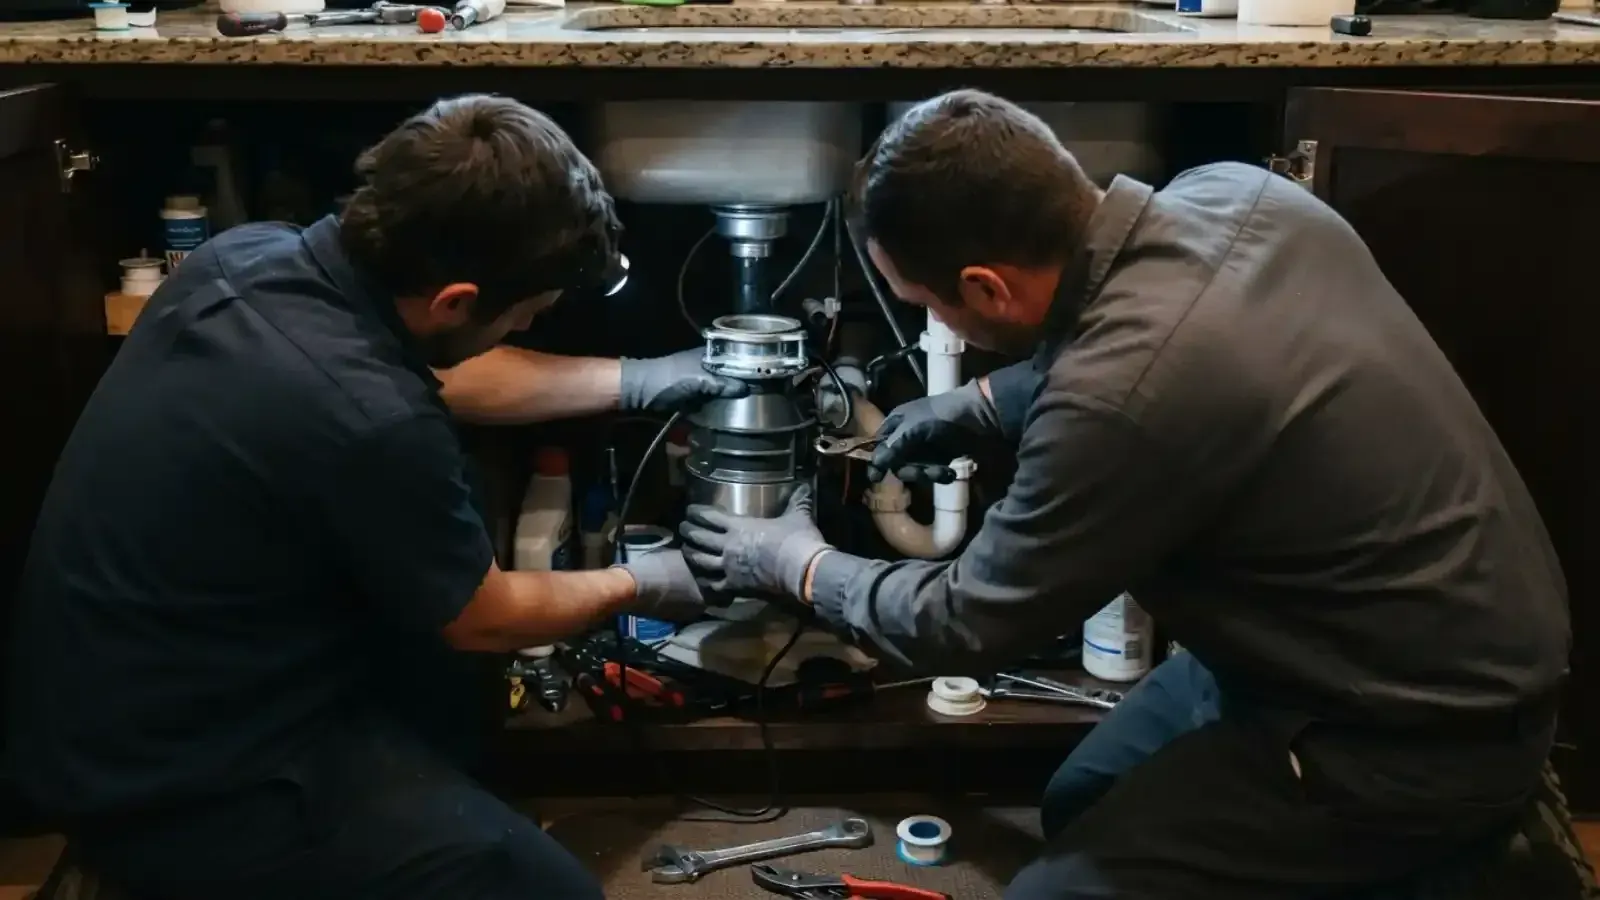
What the published time estimates actually say
There is no official standard for install time, so treat every number as an estimate. NerdWallet's disposal cost article says a standard installation can take as little as an hour. A how-to guide on ShouldIt says the job should not take more than half an hour in one place, and about three hours including cleanup in another.
Those figures disagree because each assumes a different starting point. The short number describes a simple swap where the old unit comes off and the new one locks on. The longer number counts removing putty, wiring a cord, knocking out the dishwasher plug, and testing.
Read any quoted time as a range. If a plumber or a store gives you a figure, ask what it assumes about the existing wiring, the mount, and the dishwasher.
Replacement versus first-time install
| Factor | Faster job | Slower job |
|---|---|---|
| Replacement or first install | A swap where a unit already hangs under the sink | A first install where no unit has been fitted before |
| Mounting ring | A compatible mount that can be reused | A new flange set, gasket, and backup ring to install |
| Electrical | A cord that plugs into an existing outlet | A hardwired connection or a new outlet and switch |
| Dishwasher | Knockout plug already removed | Plug must be knocked out and the dishwasher hose reconnected |
| Sink and drain | Clean opening, matching drain height | Old putty to scrape, stuck flange, or a trap that no longer lines up |
A replacement is the fastest case, since the wiring and the drain path already exist. A first install adds electrical work, drain changes, and sometimes a new dishwasher connection. Plan the visit around the slowest item on your list.
Not a good time for a DIY fix? The 24/7 line is open and the price comes first.
Call the 24/7 line (770) 214-4545The step list and where time goes
- Disable power to the area under the sink. Turn off the switch and the breaker.
- Remove the P-trap, the dishwasher outlet hose, and the old unit if there is one.
- Loosen the strainer flange nut, push the flange out of the sink, and scrape off old plumber's putty.
- Knock out the plug in the dishwasher inlet on the new disposal with a hammer and screwdriver, then fish the plug out.
- Wire the power cord. White goes to white, black to black, and green to the green screw. Tighten the clamp.
- Seal the new flange with a rope of plumber's putty, stack the gasket, backup flange, and mounting ring, and tighten the three bolts evenly.
- Hang the unit on the mounting ring by lining up the tabs with the ramps and turning to lock it.
- Connect the discharge tube, reconnect the trap and the dishwasher hose, and tighten clamps.
- Restore power, run water, run the unit, and check every joint for leaks.
The mounting steps and the wiring take the longest on a first install. A plug-in cord and a clean opening can shorten the job, while scraping hardened putty and lining up a mismatched trap can add to it.
Wiring is where an easy job can turn hard
Most disposals connect to a power cord that plugs into an outlet under the sink, controlled by a wall switch. If your home has no outlet or switch there, the job includes electrical work. The ShouldIt guide says hardwiring the unit into house power needs professional help to stay safe.
Before you touch any wiring, turn off the switch and the breaker, then confirm there is no power. Never work on a connected unit. Ask Union City Community Development at (770) 515-7920 whether the electrical part of your project needs a permit, since rules vary.
If you have no outlet, an electrician or a plumber who coordinates with one can add it. That visit adds time even when the plumbing is simple.
The dishwasher knockout and why it gets missed
Most disposals have a plug inside the dishwasher inlet on the side of the housing. The plug must be knocked out before the unit is mounted, using a hammer and a screwdriver or a wooden stick. If it stays in, the dishwasher cannot drain through the disposal.
After the knockout, remove the loose plug from inside the grinding chamber. Fish it out before the first run. A missed knockout means pulling the unit back down, which adds time.
Skip this step only if you have no dishwasher. If the dishwasher connects to a tee on the tailpiece instead, the knockout is not needed for that line.
Mounting rings, putty, and leaks
Disposals hang from a mounting assembly under the sink. The guide describes three flange bolts and a tab-and-ramp lock that turns the unit into place. Tighten the three bolts a few turns at a time, working in rotation, so the flange seats evenly.
Use plumber's putty for the sink flange seal. The guide says putty is much better against leaks than a rubber gasket where putty is called for. Wipe off the excess that squeezes out, and check for drips with a dry paper towel after the first test run.
- Clean the sink opening so the new flange seats flat.
- Tighten the mounting bolts a few turns at a time, in rotation.
- Hand-tighten slip nuts, then check each joint with a dry paper towel.
- Run the disposal with water, then fill the sink and release it to test the drain.
- Recheck for leaks after a day of normal use.
Planning the time for a first-time DIY job
A first-time DIY installer should allow a half day, not the shortest estimate. Tools, parts, and a second trip to the store are part of the real schedule. Having a bucket, putty, wire strippers, and a flashlight at hand saves time.
Allow time for surprises. A corroded slip nut, a trap that no longer lines up, or a stuck flange can eat an hour. If the drain beyond the disposal is slow, a clog downstream can make the new unit back up on day one.
Renters should not plan this as a weekend project. Ask the landlord first, since a disposal is fixed plumbing and electrical equipment, and a leak under the sink can damage the cabinet and the unit below.
When to hire a plumber instead
Hire help when the job involves new wiring, an unfamiliar drain layout, or a sink that already leaks. Garbage disposal repair and replacement covers failed units, jammed motors, and leaks, and a plumber can size up the setup on site. Plumbing installation fits a first install that needs drain or electrical changes.
When you call, ask what the quoted time assumes. Same-day appointments are offered when available, and the dispatcher can tell you what to have ready. The line also serves homes in Riverdale and Palmetto if you are outside the city.
What this means in Union City, GA
Union City's Community Development One Stop Shop can be reached at (770) 515-7920. The city's permit page says permits are required for construction, alteration, and repair and are issued to the certified contractor. Ask the office whether a disposal swap or a new outlet needs a permit, since the page does not say.
Census QuickFacts shows an owner-occupied housing rate of 40.4 percent, so about 60 percent of Union City households rent. In a rental, a disposal is part of the unit, and the landlord decides who installs it. Ask in writing before you buy a unit, and keep the receipt and the model number.
Questions homeowners ask
Published estimates range from about 30 minutes to about three hours. The fast end applies to a like-for-like swap with working wiring and a compatible mount. Allow longer for new wiring, putty cleanup, or a dishwasher connection.
Usually yes. A first install may need an outlet and switch, a new flange set, a drain change, and a dishwasher connection. A replacement reuses most of that existing setup.
It is a plug inside the dishwasher inlet on the disposal housing. You knock it out with a hammer and screwdriver before mounting, so the dishwasher can drain through the unit. Fish the loose plug out of the chamber.
One how-to guide says hardwiring into house power needs professional help to stay safe. Turn off the switch and breaker first, and ask Union City Community Development whether the electrical work needs a permit.
Use plumber's putty where the instructions call for it. The guide says putty is much better against leaks, and the gasket belongs where the manufacturer places it.
Union City says permits are required for construction, alteration, and repair and are issued to the certified contractor, but its page does not say what a disposal needs. Permit rules vary, so ask Union City Community Development at (770) 515-7920.